How to Use a Shaving Brush Table of Contents
Sharpologist Expert Series: Sharpologist talks us through how to wet shave with a brush
Using a shave brush can make a big difference in the quality of your shave. Here is some guidance on the different varieties that are available...and how to use one properly.
Do You Need a Brush for Wet Shaving?
A common question among grooming enthusiasts is whether a shave brush is essential for wet shaving. The answer lies in the benefits it offers. A shave brush plays a pivotal role in creating a rich, creamy lather that deeply hydrates your skin, softens hair, and lifts it away from the surface. This not only enhances the glide of your razor but also reduces the risk of irritation and ingrown hairs. The brush exfoliates your skin, removing dead cells and promoting a smoother complexion. While you can achieve a decent shave without a brush, incorporating one into your routine elevates your shaving experience by delivering exceptional results and transforming your daily ritual into a moment of indulgence.
Is It Better to Shave with a Brush?
Wet shaving with a brush offers numerous advantages that set it apart from other methods. The brush's bristles work in tandem with high-quality shaving cream to generate a luxurious lather that cushions the skin and ensures a closer, more comfortable shave. This dynamic duo also aids in exfoliation, preventing ingrown hairs and leaving your skin looking revitalized. As the brush lifts hair, it provides optimal conditions for the razor to glide effortlessly, resulting in a smoother finish. Additionally, the massaging action of the brush improves blood circulation, promoting skin health. In essence, shaving with a brush isn't just about removing hair – it's about achieving a refined, indulgent grooming experience that leaves you feeling rejuvenated.
Is It Better to Apply Shaving Cream by Hand or Brush?
When it comes to applying shaving cream, the technique you choose can significantly impact your shave. While applying cream by hand might seem convenient, using a brush offers distinct advantages. A brush aids in evenly distributing the cream, ensuring that every inch of your face receives a consistent layer of lather.
The brush's bristles also gently exfoliate your skin, helping to lift hairs and open up pores for a closer shave. Moreover, using a brush minimizes the chances of missed spots and uneven coverage, leading to a smoother and more satisfying shaving experience. By opting for a brush-assisted application, you not only improve the quality of your shave but also enhance your overall skin health.
Why Use A Shaving Brush?

I think a shave brush is the very best way to prepare stubble for shaving. And for a number of reasons--there are several ways in which using a shave brush benefits the shaving process:
Hydration
Using a shave brush thoroughly mixes shave soap or cream with water, making a more effective lather (and reducing the amount of air in the lather as well, helping prevent the skin from drying and causing irritation).
Exfoliation
Using a shave brush can replace--or at least reduce--the need for an exfoliation product: think of it as helping to sweep away tiny bits of debris from around hair stubble.
Shave brushes may also help lift out stubborn ingrown hairs.
Lather Coverage
Hair tends to flatten on the face when shave products are applied with just fingers, making them more difficult for the razor's blade edge to track through. A shave brush lifts hair and surrounds it with lather, requiring less work from the razor.
Economy (Well, Sort Of...)
The shave brush usually needs less product to make a good lather: traditional shaving creams and soaps may cost more up-front but you use so little of it at once it will last longer and the actual cost per shave can be quite low.
Enhanced Shave Experience
Beyond the more practical aspects of using a shave brush, it can also enhance the shave experience. For some, that feeling of warm, fragrant lather on the face is very relaxing and almost a "Zen" experience.
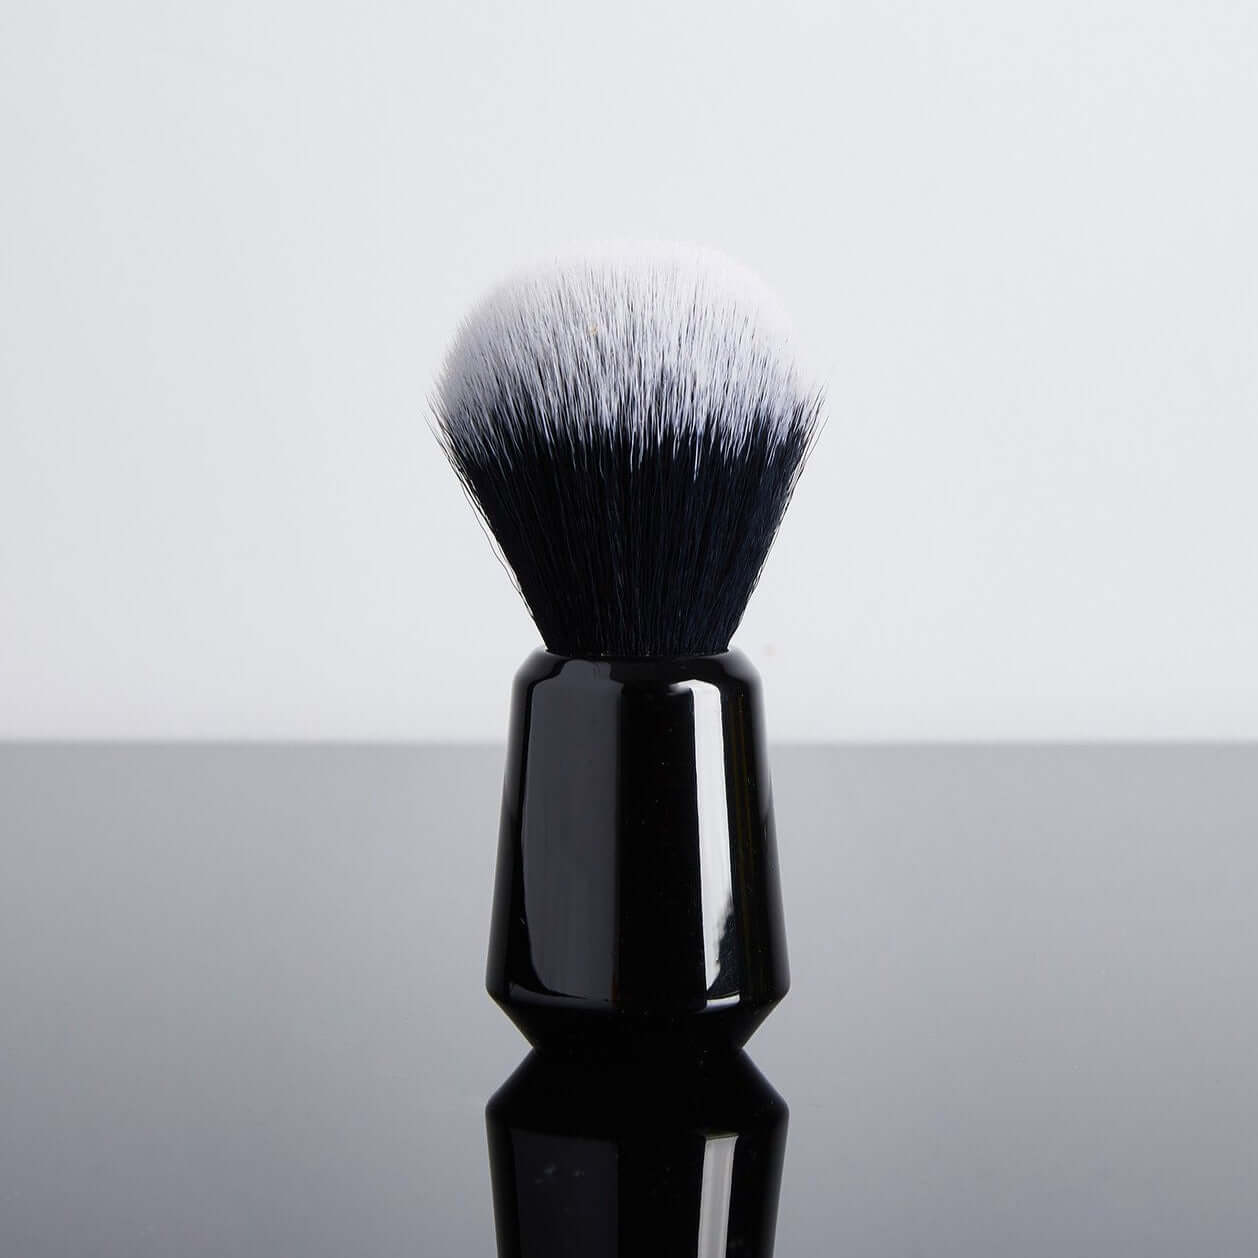
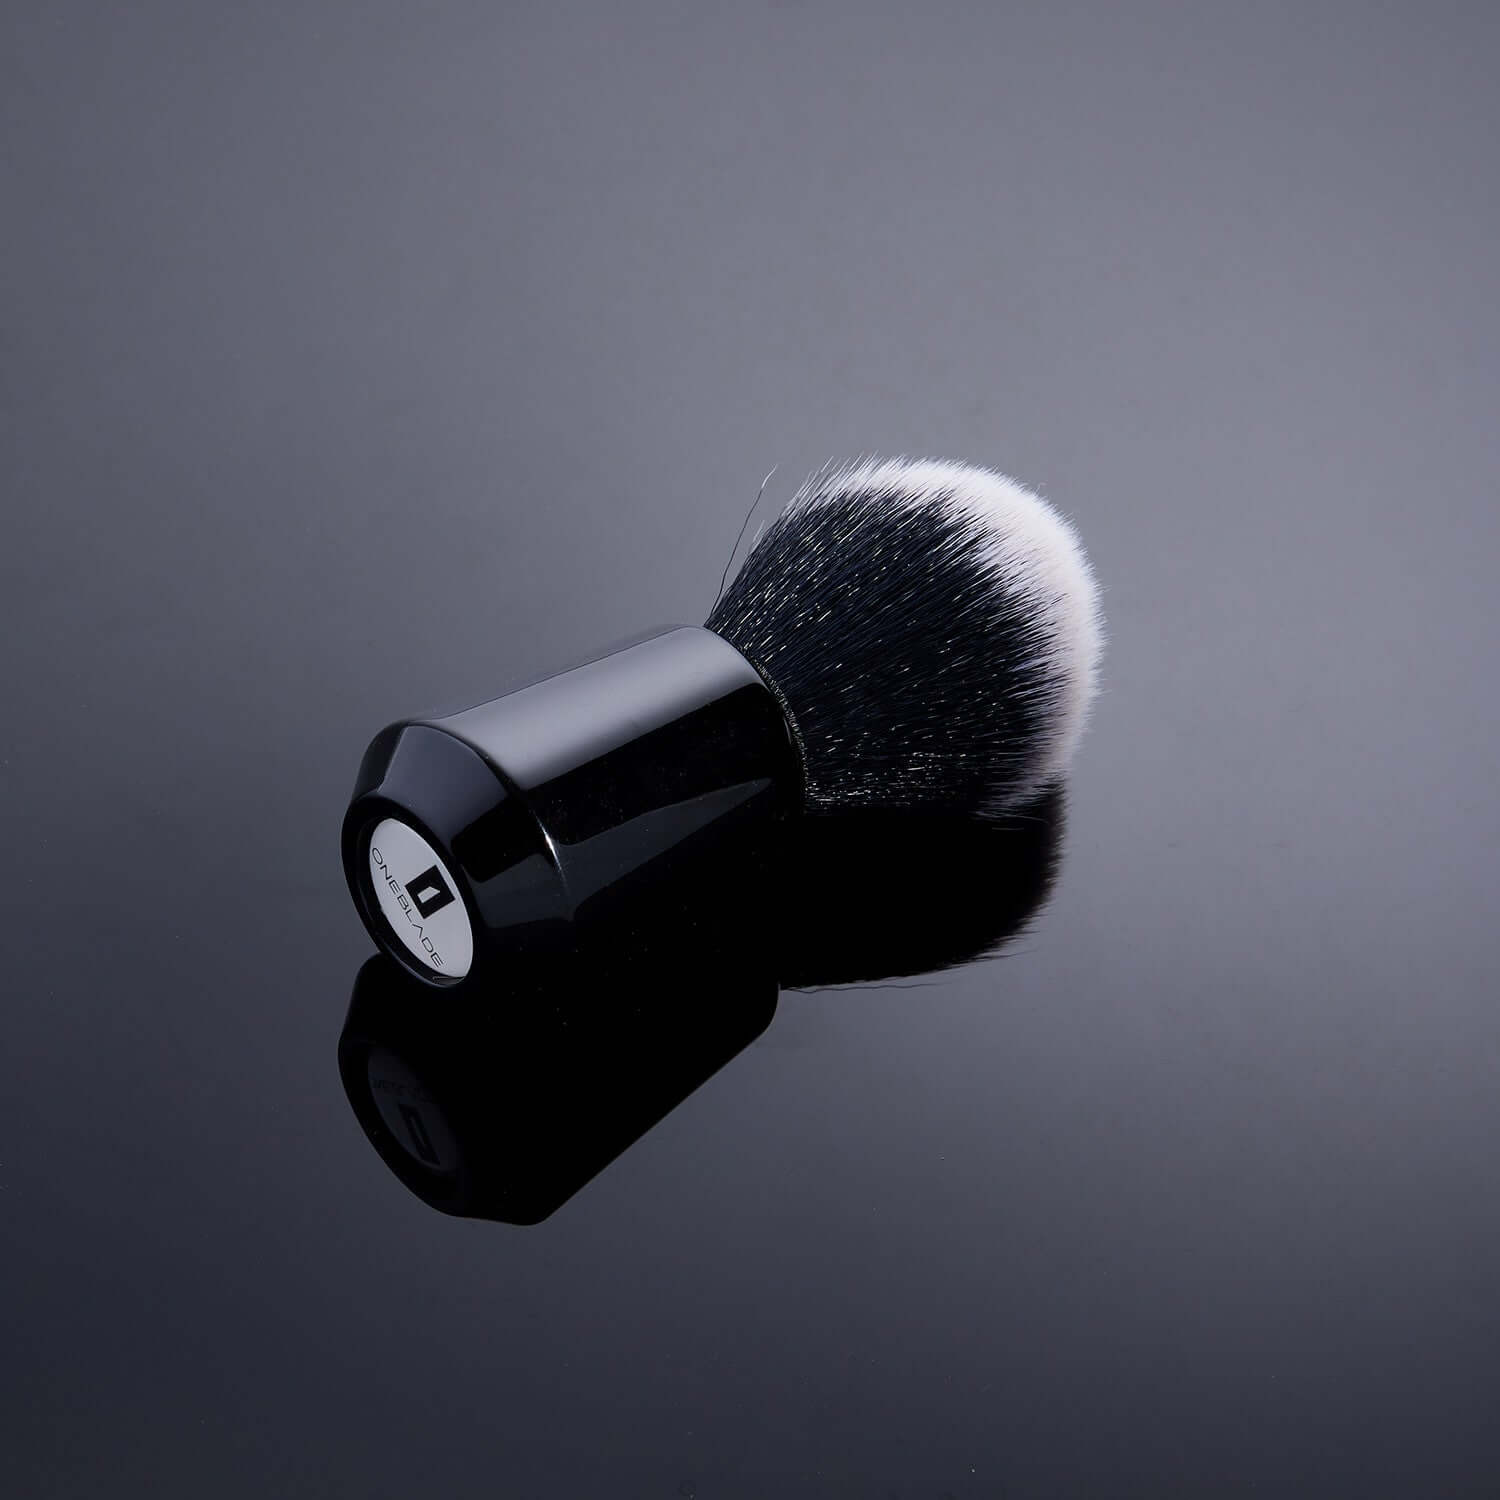
The Anatomy Of A Shave Brush

Brush dimensions are usually divided into three specifications: over-all height, knot, and loft, expressed in millimeters:
- The over-all height is the length from the base of the handle to the tip of the hair
- The knot is the diameter of the base of the hair knot and an indication of the amount of hair that is packed into the handle (but this dimension is inexact because the fibers can be packed loosely or tightly).
- The loft is the length of the hair from base of the knot to the tip of the hair.
Generally speaking, larger brushes tend to work better at lathering large areas more quickly, while smaller brushes offer more control. Smaller brushes are are often seen as travel options.
Brush sizes vary widely but I think it’s safe to say that the average loft is about 50 millimeters and the average knot is about 22 millimeters.
Hair Shape
The tips of the loft can be a fan-like shape (some are essentially flat) or a bulb-like shape. Brush shape is a matter for debate among the shave nerd. Each style has their advocates but there’s no real agreement about which may work "better."
Shaving Brush Handle Material
The size, shape, and material of the handle is another personal preference. Most shave brush handles are made out of resin or wood but metal or more exotic materials are certainly available for a price.
In the absence of really knowing what you want I suggest measuring the distance from the palm of your hand to the pad of your thumb and let that measurement be the maximum length of the handle.
Shaving Brush Hair Type
Shave brushes come in one of four hair types: boar hair, badger hair, horse hair or synthetic material.
Boar hair shave brushes--you will sometimes see this labeled as “natural bristle” brushes--are the most commonly seen in mass market outlets such as drug stores and "mega-marts." Most of these brushes are not very well constructed and tend to require more work to get a good lather from. However that is not to say that all boar hair brushes are substandard. On the contrary, a well-made boar hair brush may provide years of service and can work quite well after a break-in period. Sometimes these brushes are dyed to look like badger hair brushes. Boar hair retains less water than other types of hair but selecting a boar hair brush with a higher "loft" should help compensate for water retention.
Badger hair brushes have been generally regarded as the preferred material for shave brushes because they can make a better lather more quickly. They also retain more heat and water than brushes of other types. However there are several different grades of hair, and unfortunately there is no standardized grading process. But here are some general guidelines:
- The lowest grade of badger hair is generally referred to as “pure.” Pure badger hair has a dark color and thick, relatively stiff, coarse-looking fibers. Some manufacturers bleach the hair to make it look like a higher grade.
- The next higher grade is usually called "super" or "fine." This type of hair is finer-looking, softer, and lighter in color. Super badger brushes retain water and heat noticeably better than lower grades.
-
The highest grade of badger hair is usually labeled “silvertip.” Silvertip hair is often cream-colored on top with darker bands of color below and very fine but still fairly flexible hairs. These brushes will retain even more water and heat than super badger brushes, though a less dramatic improvement than the low-to-mid grade.
Most boar hair and virtually all badger hair used in shave brushes come from China where the animals are considered pests and controlled under license. There is some controversy over how humane the "harvesting" process is. If that is a concern to you consider selecting a brush with synthetic or horse hair.
Horse hair shave brushes have recently returned to the market after a being out of favor for nearly 100 years (due to an anthrax scare around World War 1). Horse hair brushes are made from grooming cast-offs from the horse's mane or tail (or a mix of both). The performance is roughly that of a boar brush but it is considered the most "animal-friendly" variety.

Finally there are synthetic brushes. These can range from brushes with nylon bristles those with more specialized synthetic material. Their price and performance usually fall between those of boar and badger brushes. Some fairly significant improvements in synthetic fiber technology have taken place over the past couple of years and the higher-end synthetic materials are now much closer in performance to quality "super" and even "silvertip" badger brushes!
The ingredients of some "brushless" shave products (like a canned gel or foam) may damage a brush’s natural hair. If you are not sure of the ingredient reaction consider using a brush with synthetic hair.
Selecting Your Shaving Brush
You should be able to find a brush at virtually any budget range so set yourself a maximum price and stick to it. Many shavers eventually get another brush after they have used one for a while and have decided they have a preference for a particular aspect or type of brush.
How To Use A Shave Brush
Here is your best opportunity to really enjoy your shave. It may take (a little) longer to make a lather with a brush but it is worth the trouble.
NOTE: The first time you use an animal hair shave brush you may notice an unpleasant wet animal smell--often referred to by shaving aficionados as "the funk." This is normal and will go away after using it a week or so.
The Lathering Process
Making shaving lather the "classic" way starts with soaking the brush in hot (but not too hot!) water.

Fill a sink with warm-to-hot water and place the shaving brush in the sink. How long the brush needs to be soaked is dependent on the type of brush: boar hair, horse hair, and low grades of badger hair may need to soak longer (possibly several minutes) than higher grades of badger (perhaps under a minute).
After soaking gently shake the brush three or four times to get rid of the excess water. Load your brush:
-
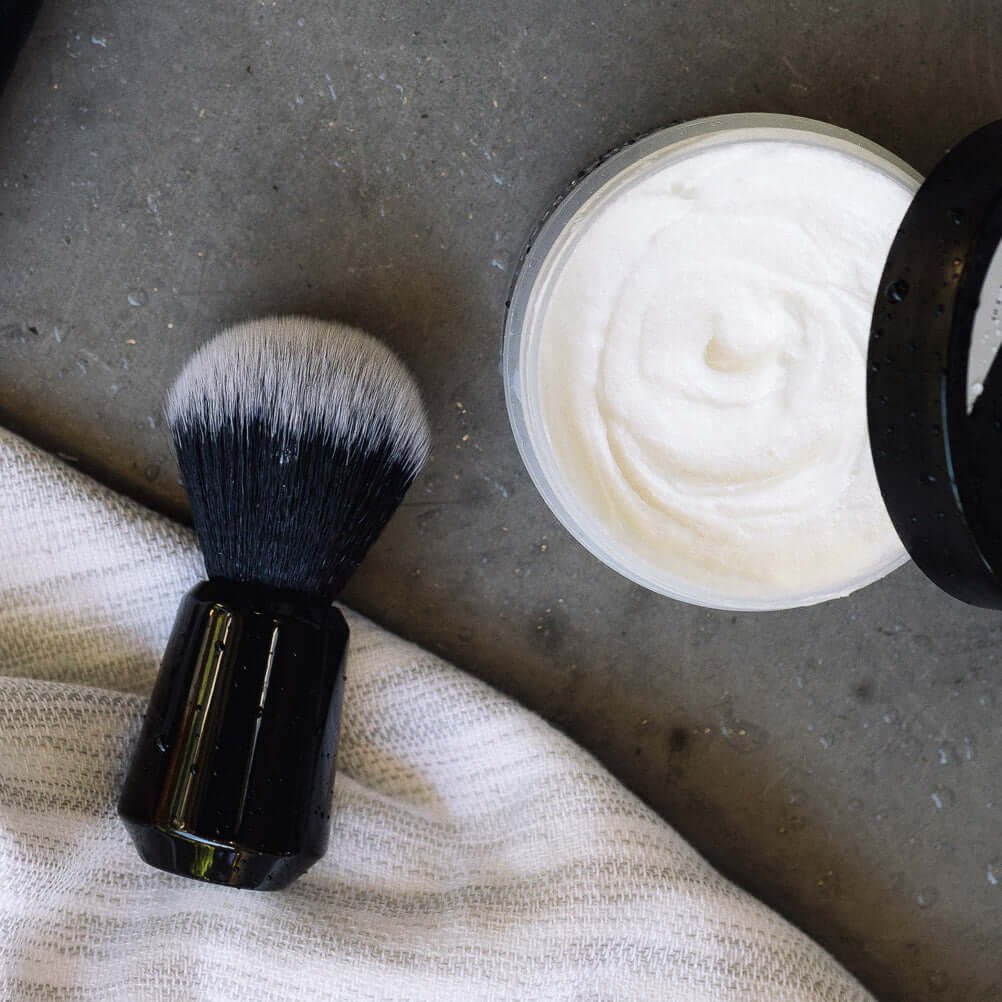
If you have a shave soap puck or a jar of shave cream, spin the brush onto it, pressing down slightly, to coat the brush's bristles with product (an alternative for the jar is to scoop out a almond-size lump with a small utensil and place it directly into the center of the brush). You are looking for more than just a light foam on the bristles--you want a relatively thick coat.
- If you are using a tube of shave cream, squeeze out an almond-size amount directly into the center of the brush.

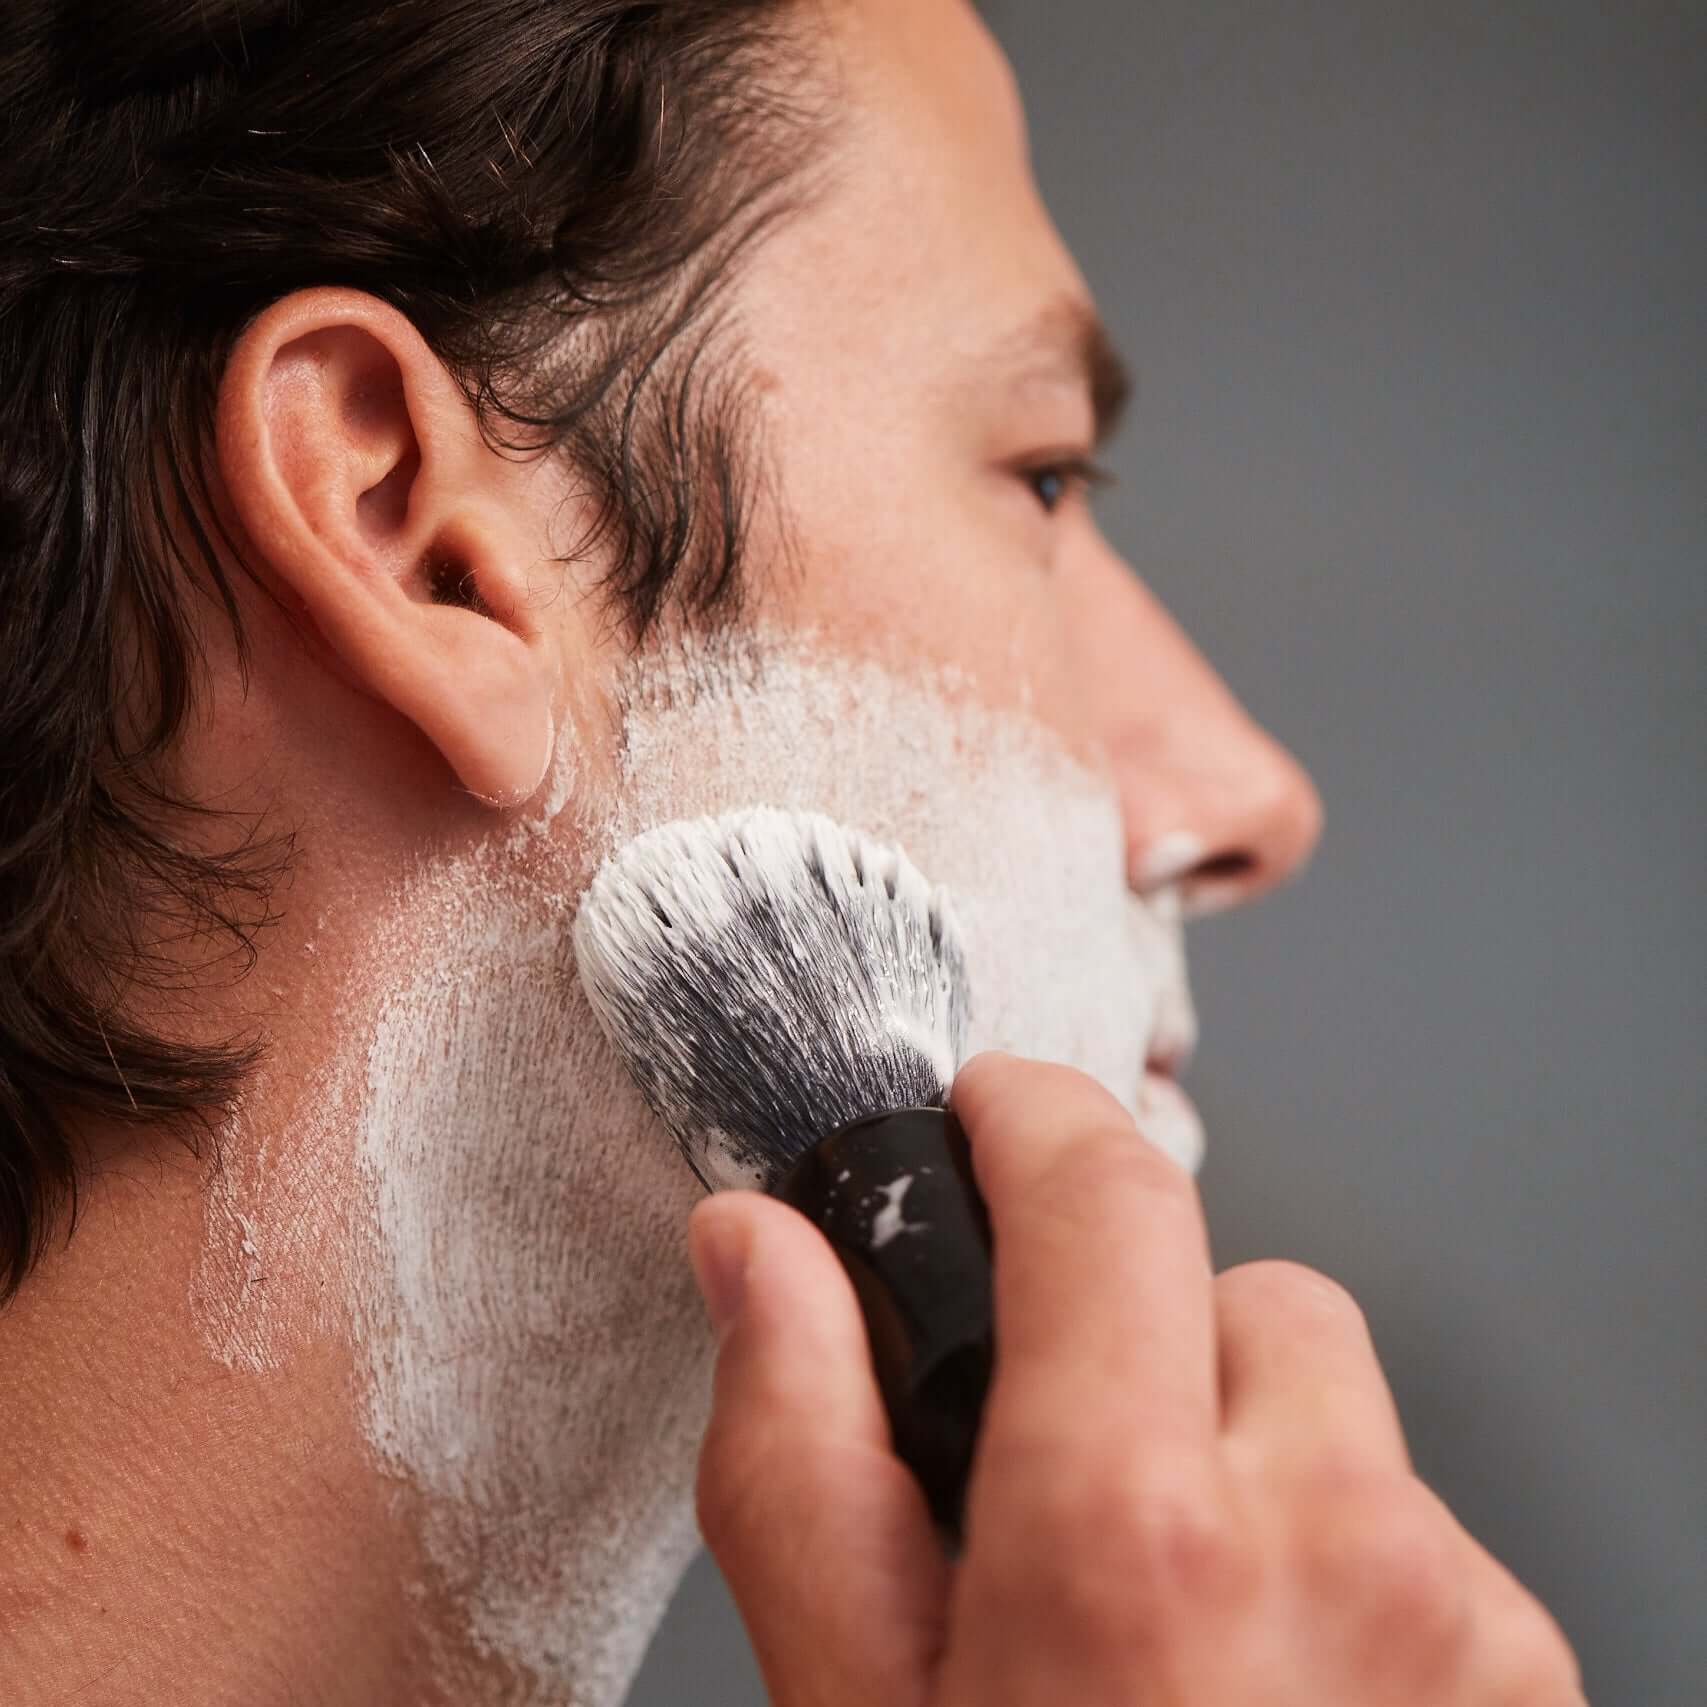
Building lather: You can do this in a bowl of some kind, in your hand, or directly to the face. An advantage of using a bowl is that you can get a better idea of how the brush is generating lather if you're new to the process. And if you gently heat the bowl beforehand you can get a warmed lather than can feel really nice! On the other hand building lather directly to the face can save some time and help with shave preparation.

Massage the brush into the bowl or on the face using circular motions and pressing the brush down slightly. Some advocate using a painting motion vs. a circular motion but let's start off with circular. Massage the lather on the skin for about 30 seconds then dip the tips of the brush in water and repeat. It may take a couple minutes for the lather to build on the brush to the right consistency, depending on the type of brush, the type of product used, and the mineral content of the water.
Whether you're building in a bowl or to the face, you are looking for a shiny, somewhat "loose" consistency (runnier than what might come out of a can or brushless tube) with soft "peaks" (like a cake batter or yogurt) without any bubbles. Enjoy the feel and the scent of the shaving lather!
After you have covered the shaving area with lather it may be useful to use a "painting" motion to make a (comparatively) then, even coat--you don't need to look like Santa Clause.

Now you are ready to shave!
If You Are Having Trouble
I think it's safe to say everyone that has experienced trouble making traditional shaving lather at one time or another. Here are four shortcuts to making a better lather more quickly.
"Superlather"
Priming the (fairly wetter than usual) brush with a shave soap then adding shave cream--often called "Superlather"--can be an effective (though sometimes messy) way to get a super-hydrated, slick, yet stable lather.
"Uberlather"
A trick similar to "Superlather" is "Uberlather." Uberlather is the process of adding a few drops of pure glycerin to the shaving brush after soaking but before lathering. The extra glycerin creates a more stable, longer-lasting lather. Glycerin can be found at your mega-mart in either the skin care or first aid isle.
Distilled Water
Sometimes lather is not very good because your local water is too "hard" (has too many minerals or contaminants). If you have hard water try mixing in some distilled water. Just heat some up (not to boiling!) and pour it into your sink (with the sink stopper closed, of course).
Citric Acid
Another tactic to try for hard water is a small amount of citric acid. You can find citric acid in the home canning supplies at large groceries and mega-marts. You may need to experiment to find the amount to add but start out with just a pinch of citric acid to a whole sink full of water. Using too much may change the pH of the water and you won't get any lather at all!
After You Are Finished
After you're finished with your shave, rinse the brush thoroughly in warm water, gently "pumping" the water through the brush until it rinses clear. Then--gently!--squeeze the water out of the brush and wipe it on a dry towel, "fluffing" the hair to break up any hair that might be clumped together.
Do not shake or "flick" the brush vigorously! Doing so may weaken the glue knot holding the hair into the handle over time: you don't want a hairy projectile flying across the bathroom!
Store your brush in a ventilated area--NOT in a closed cupboard.
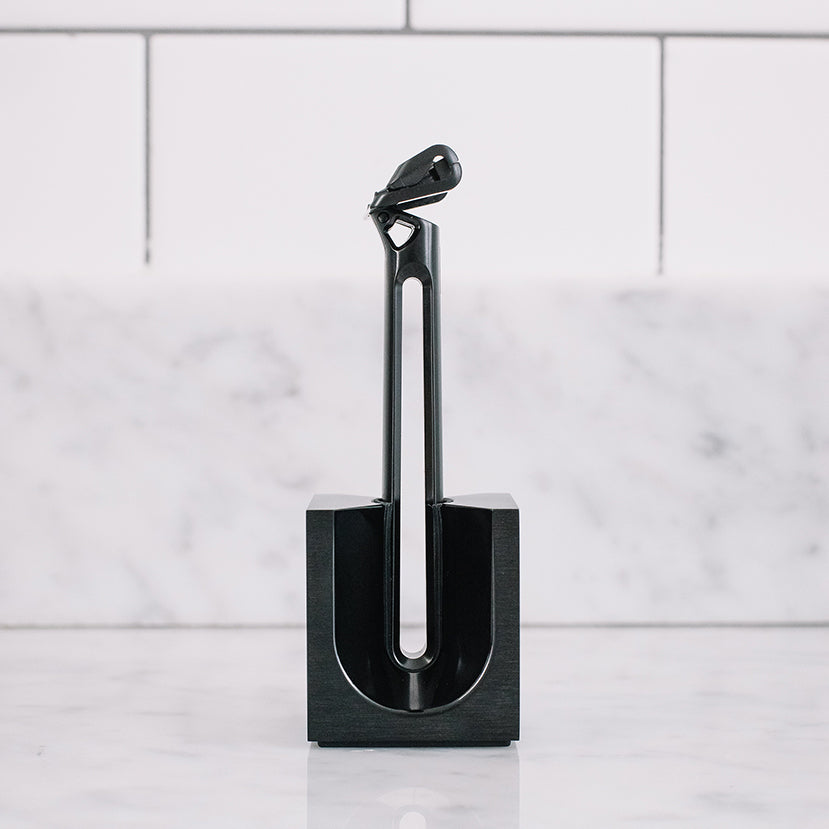
Using a brush stand will ensure proper drying and will prolong the life of your brush.

All but the cheapest shave brushes should last you for five-to-ten years (or more!) of regular use as long as it is properly used and maintained.
Looking for the Best Shaving Brush or Stand?
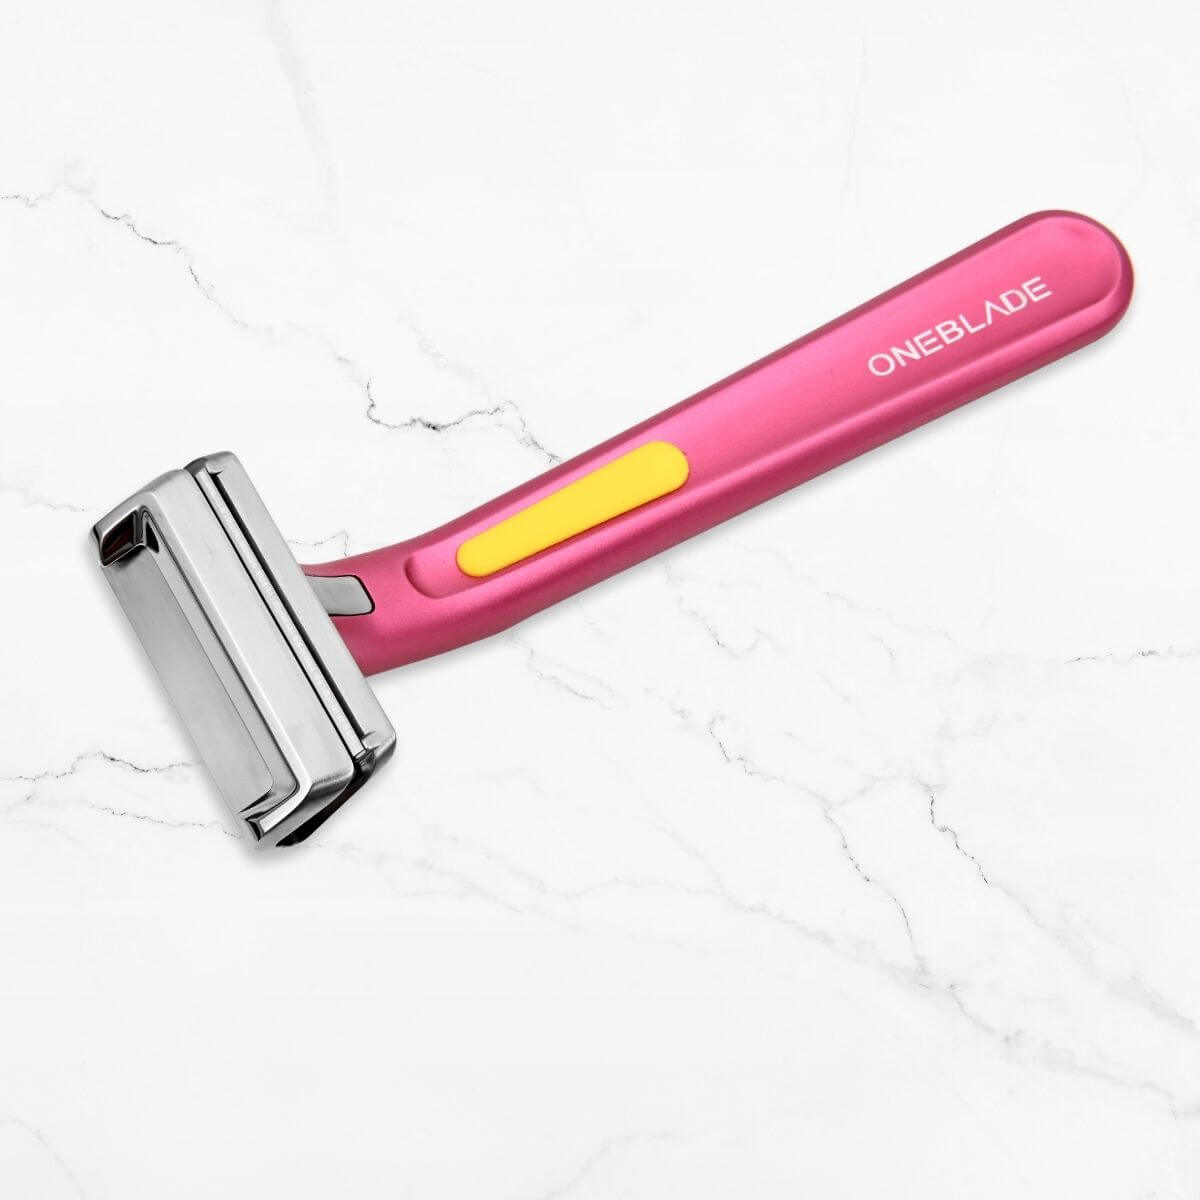
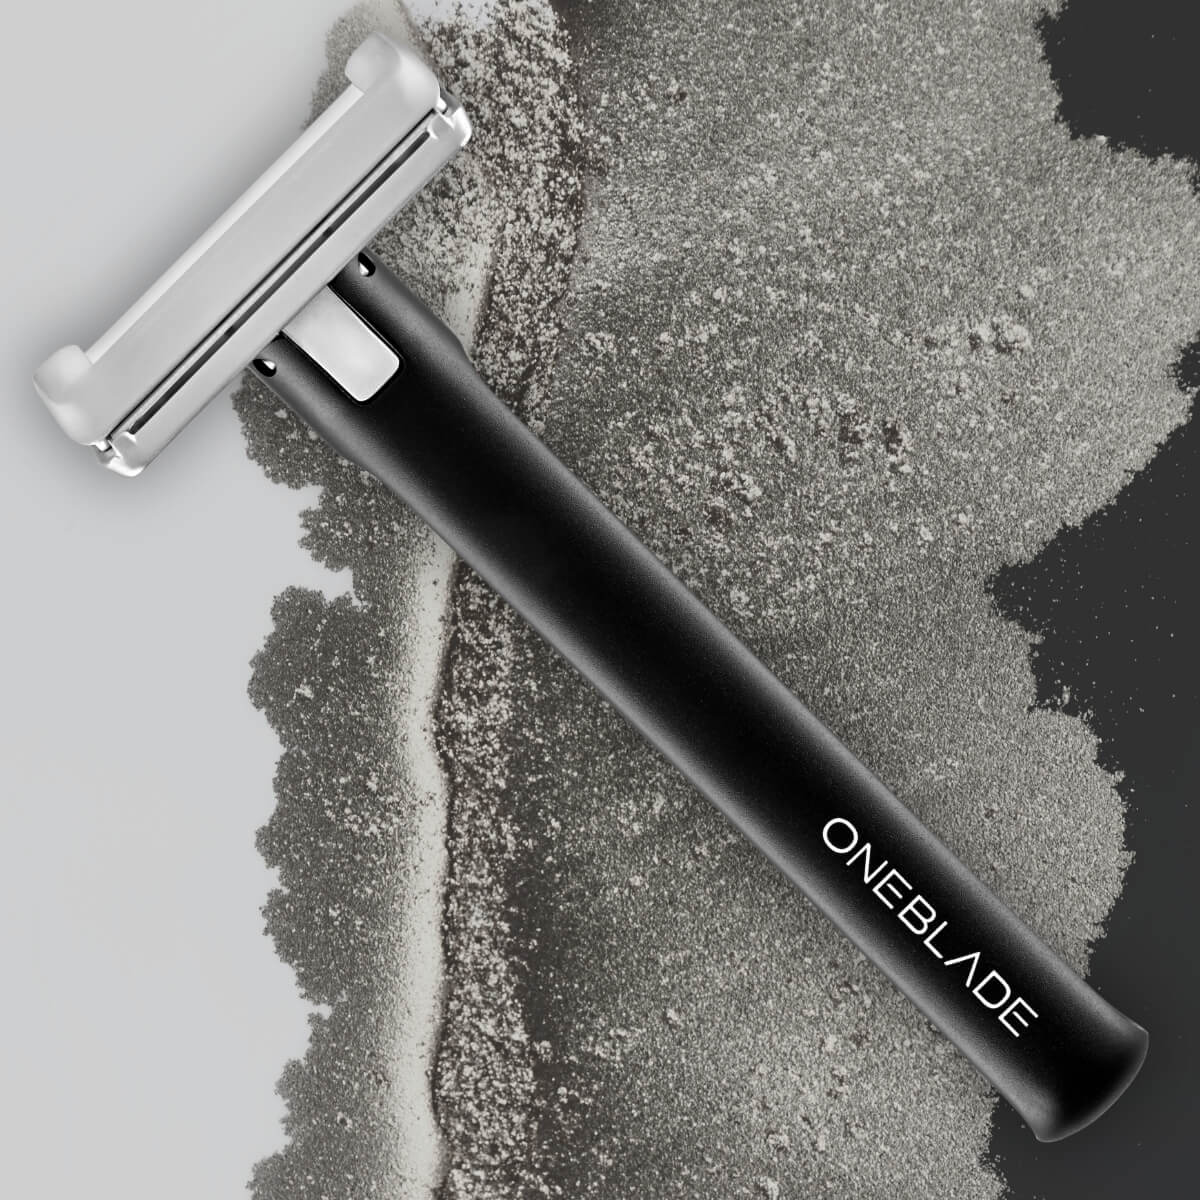
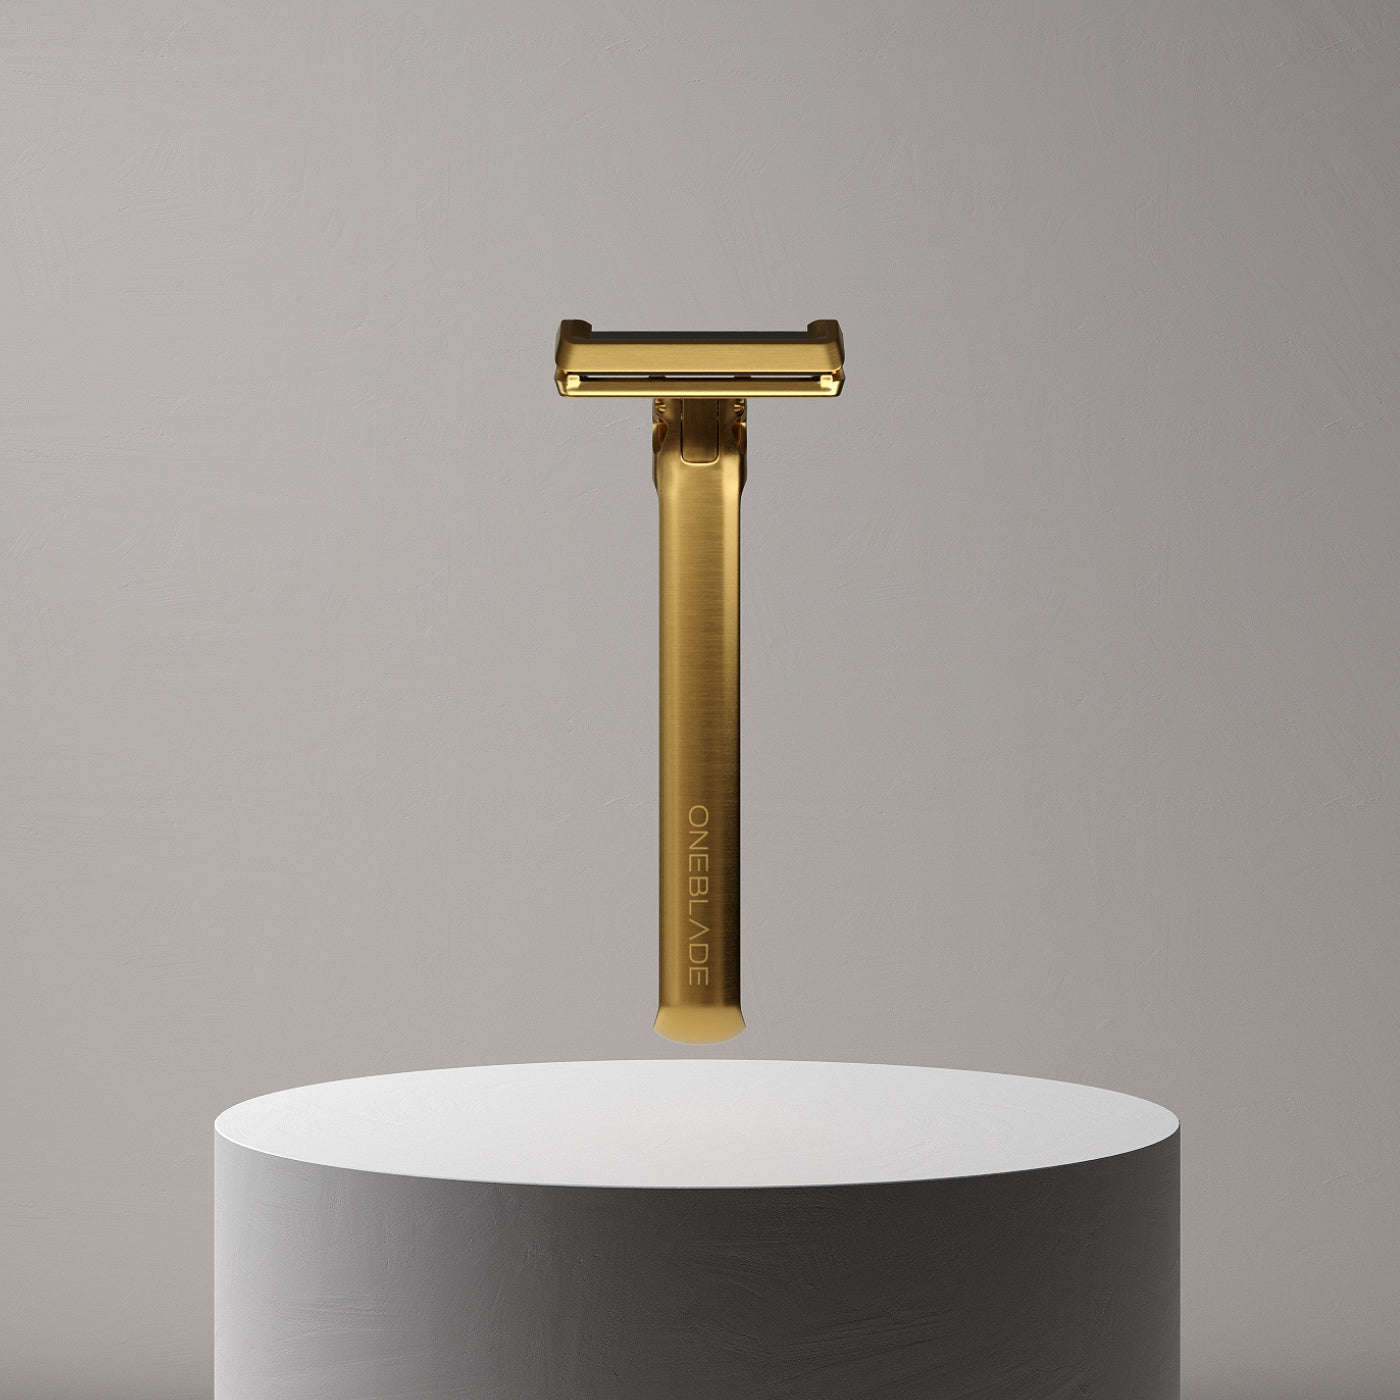
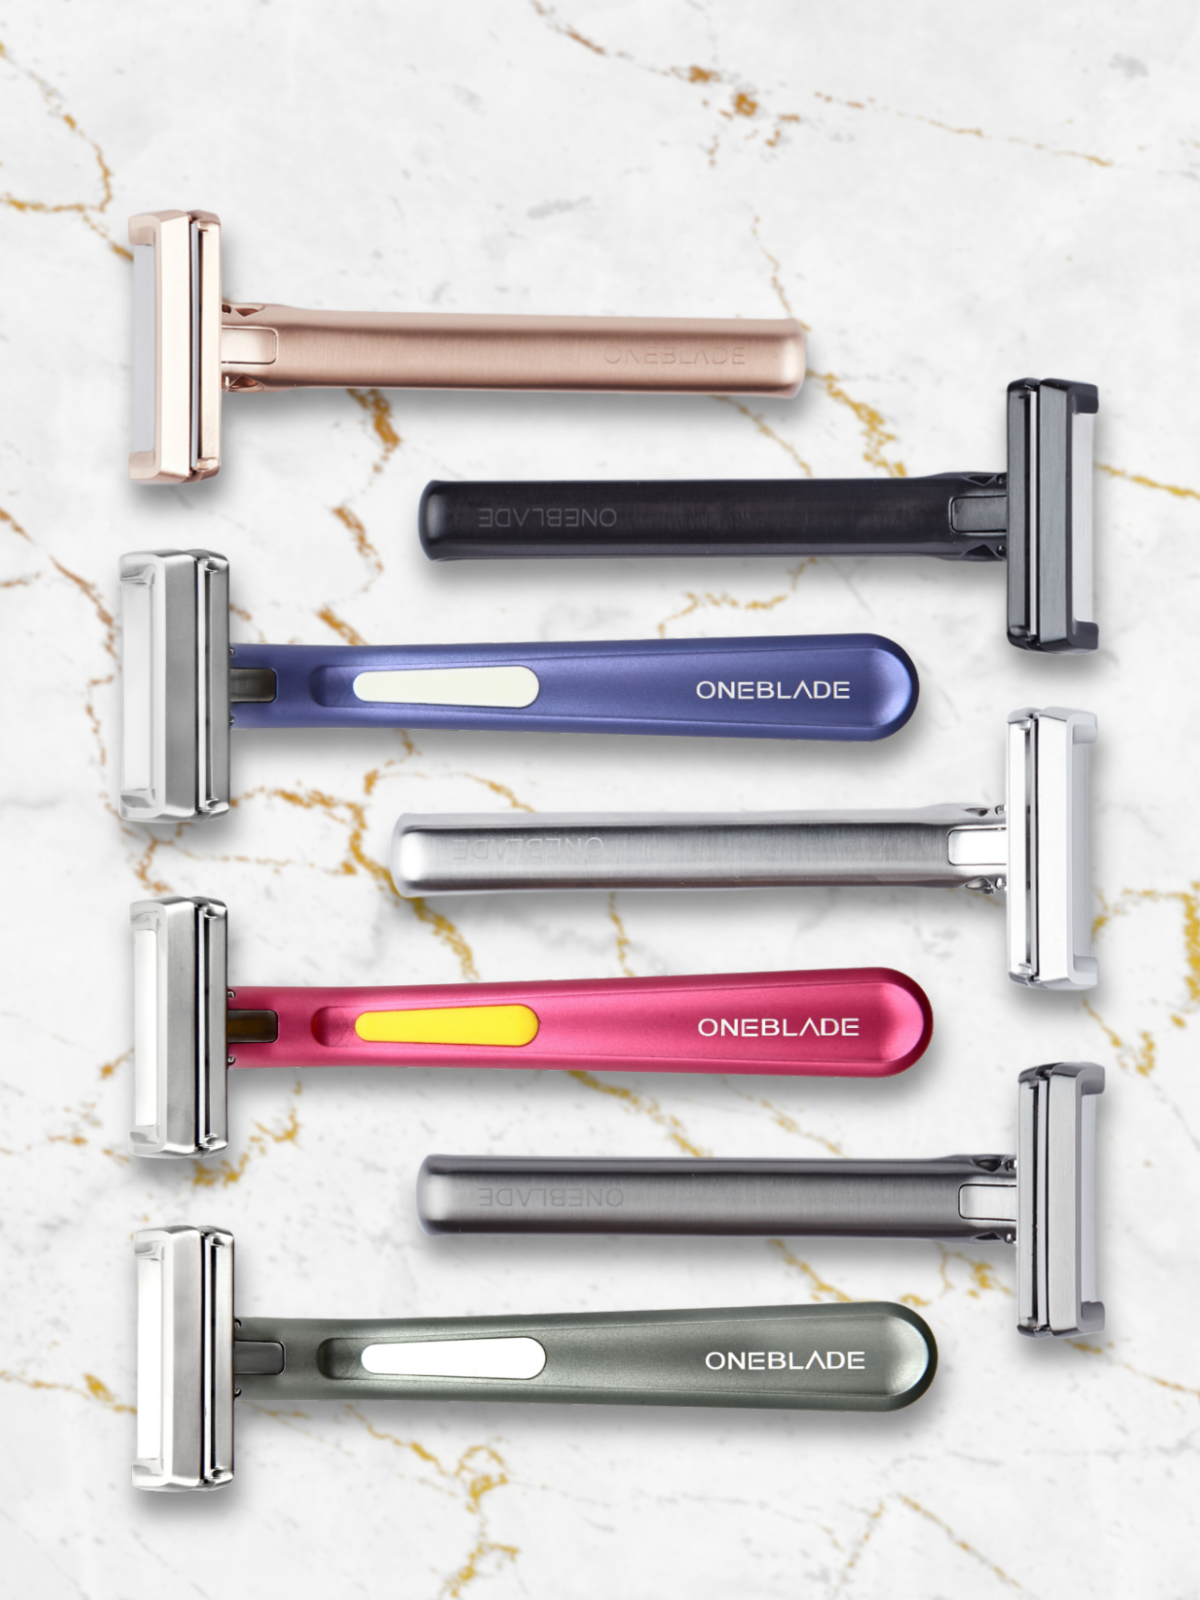
Our mission is to revolutionize the way you shave, providing you with tools and products that align with the artistry of wet shaving. Every stroke of a OneBlade razor, every lather created with our brushes, and every product meticulously curated for your grooming needs is a testament to our dedication to excellence. We invite you to explore our collection, discover the unparalleled comfort and precision our products offer, and embark on a shaving experience that's nothing short of extraordinary.
Tuxedo Synthetic Brush
Travel Brush
Brush Stand
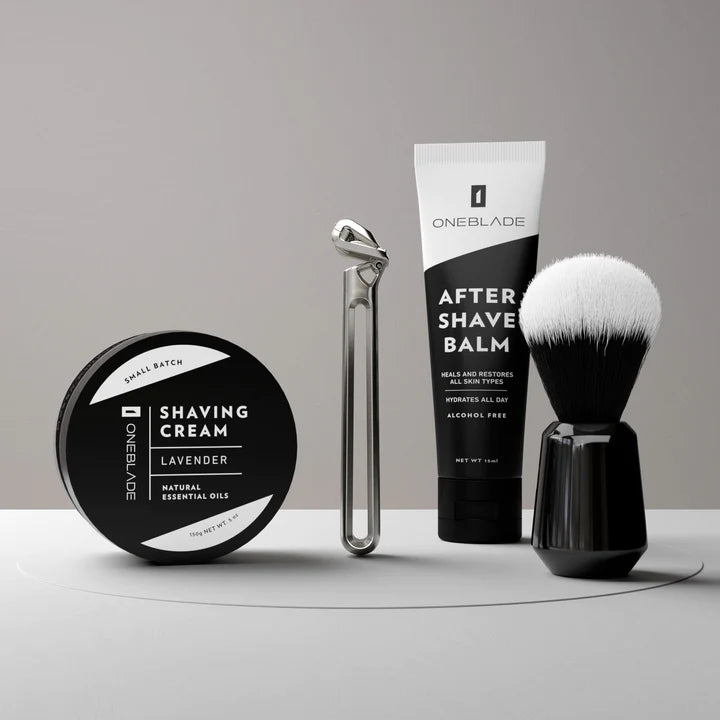
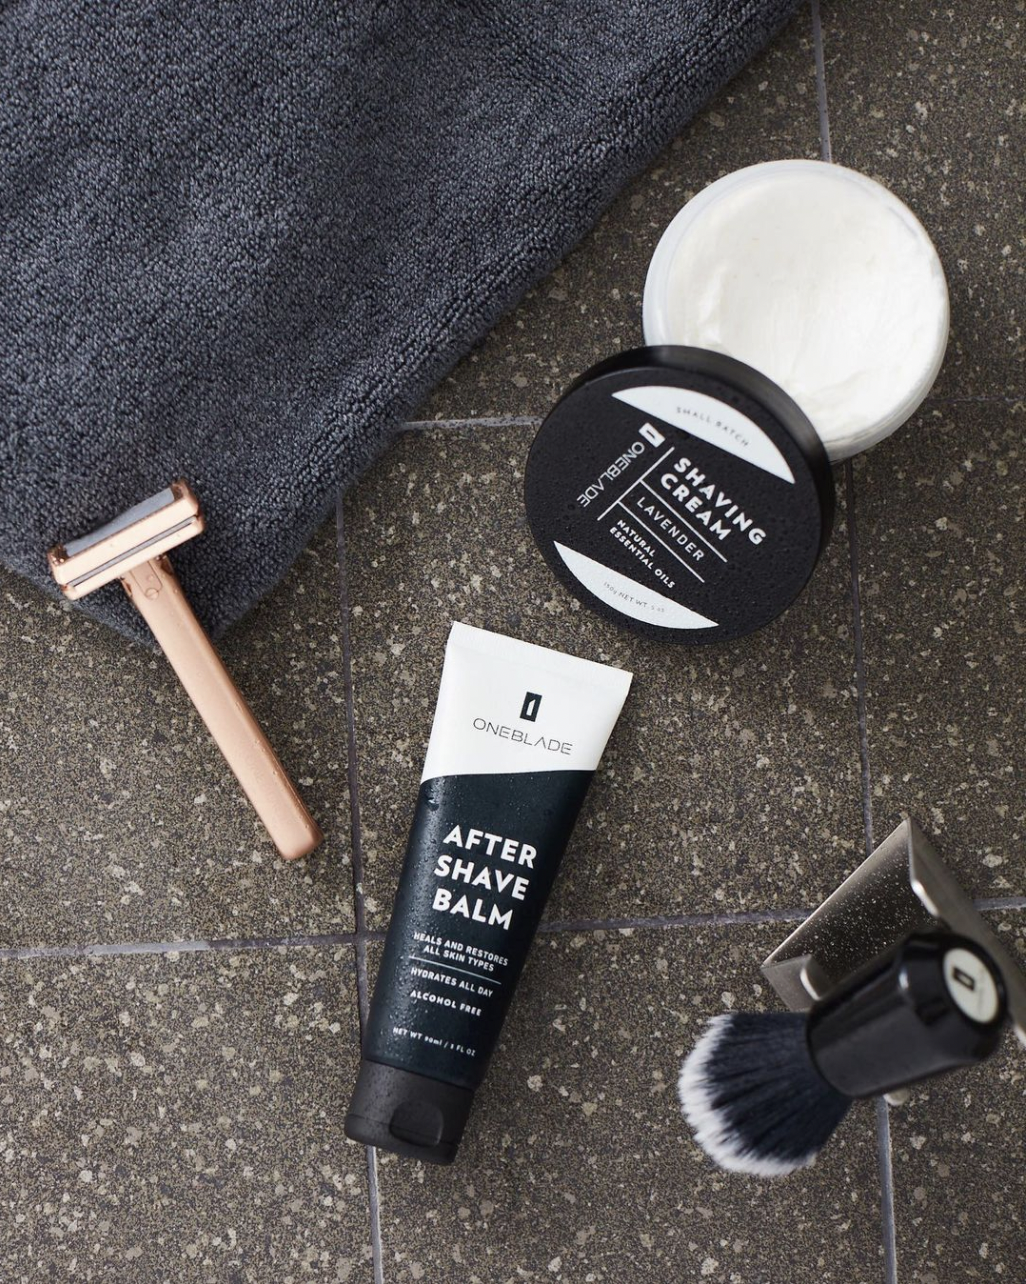
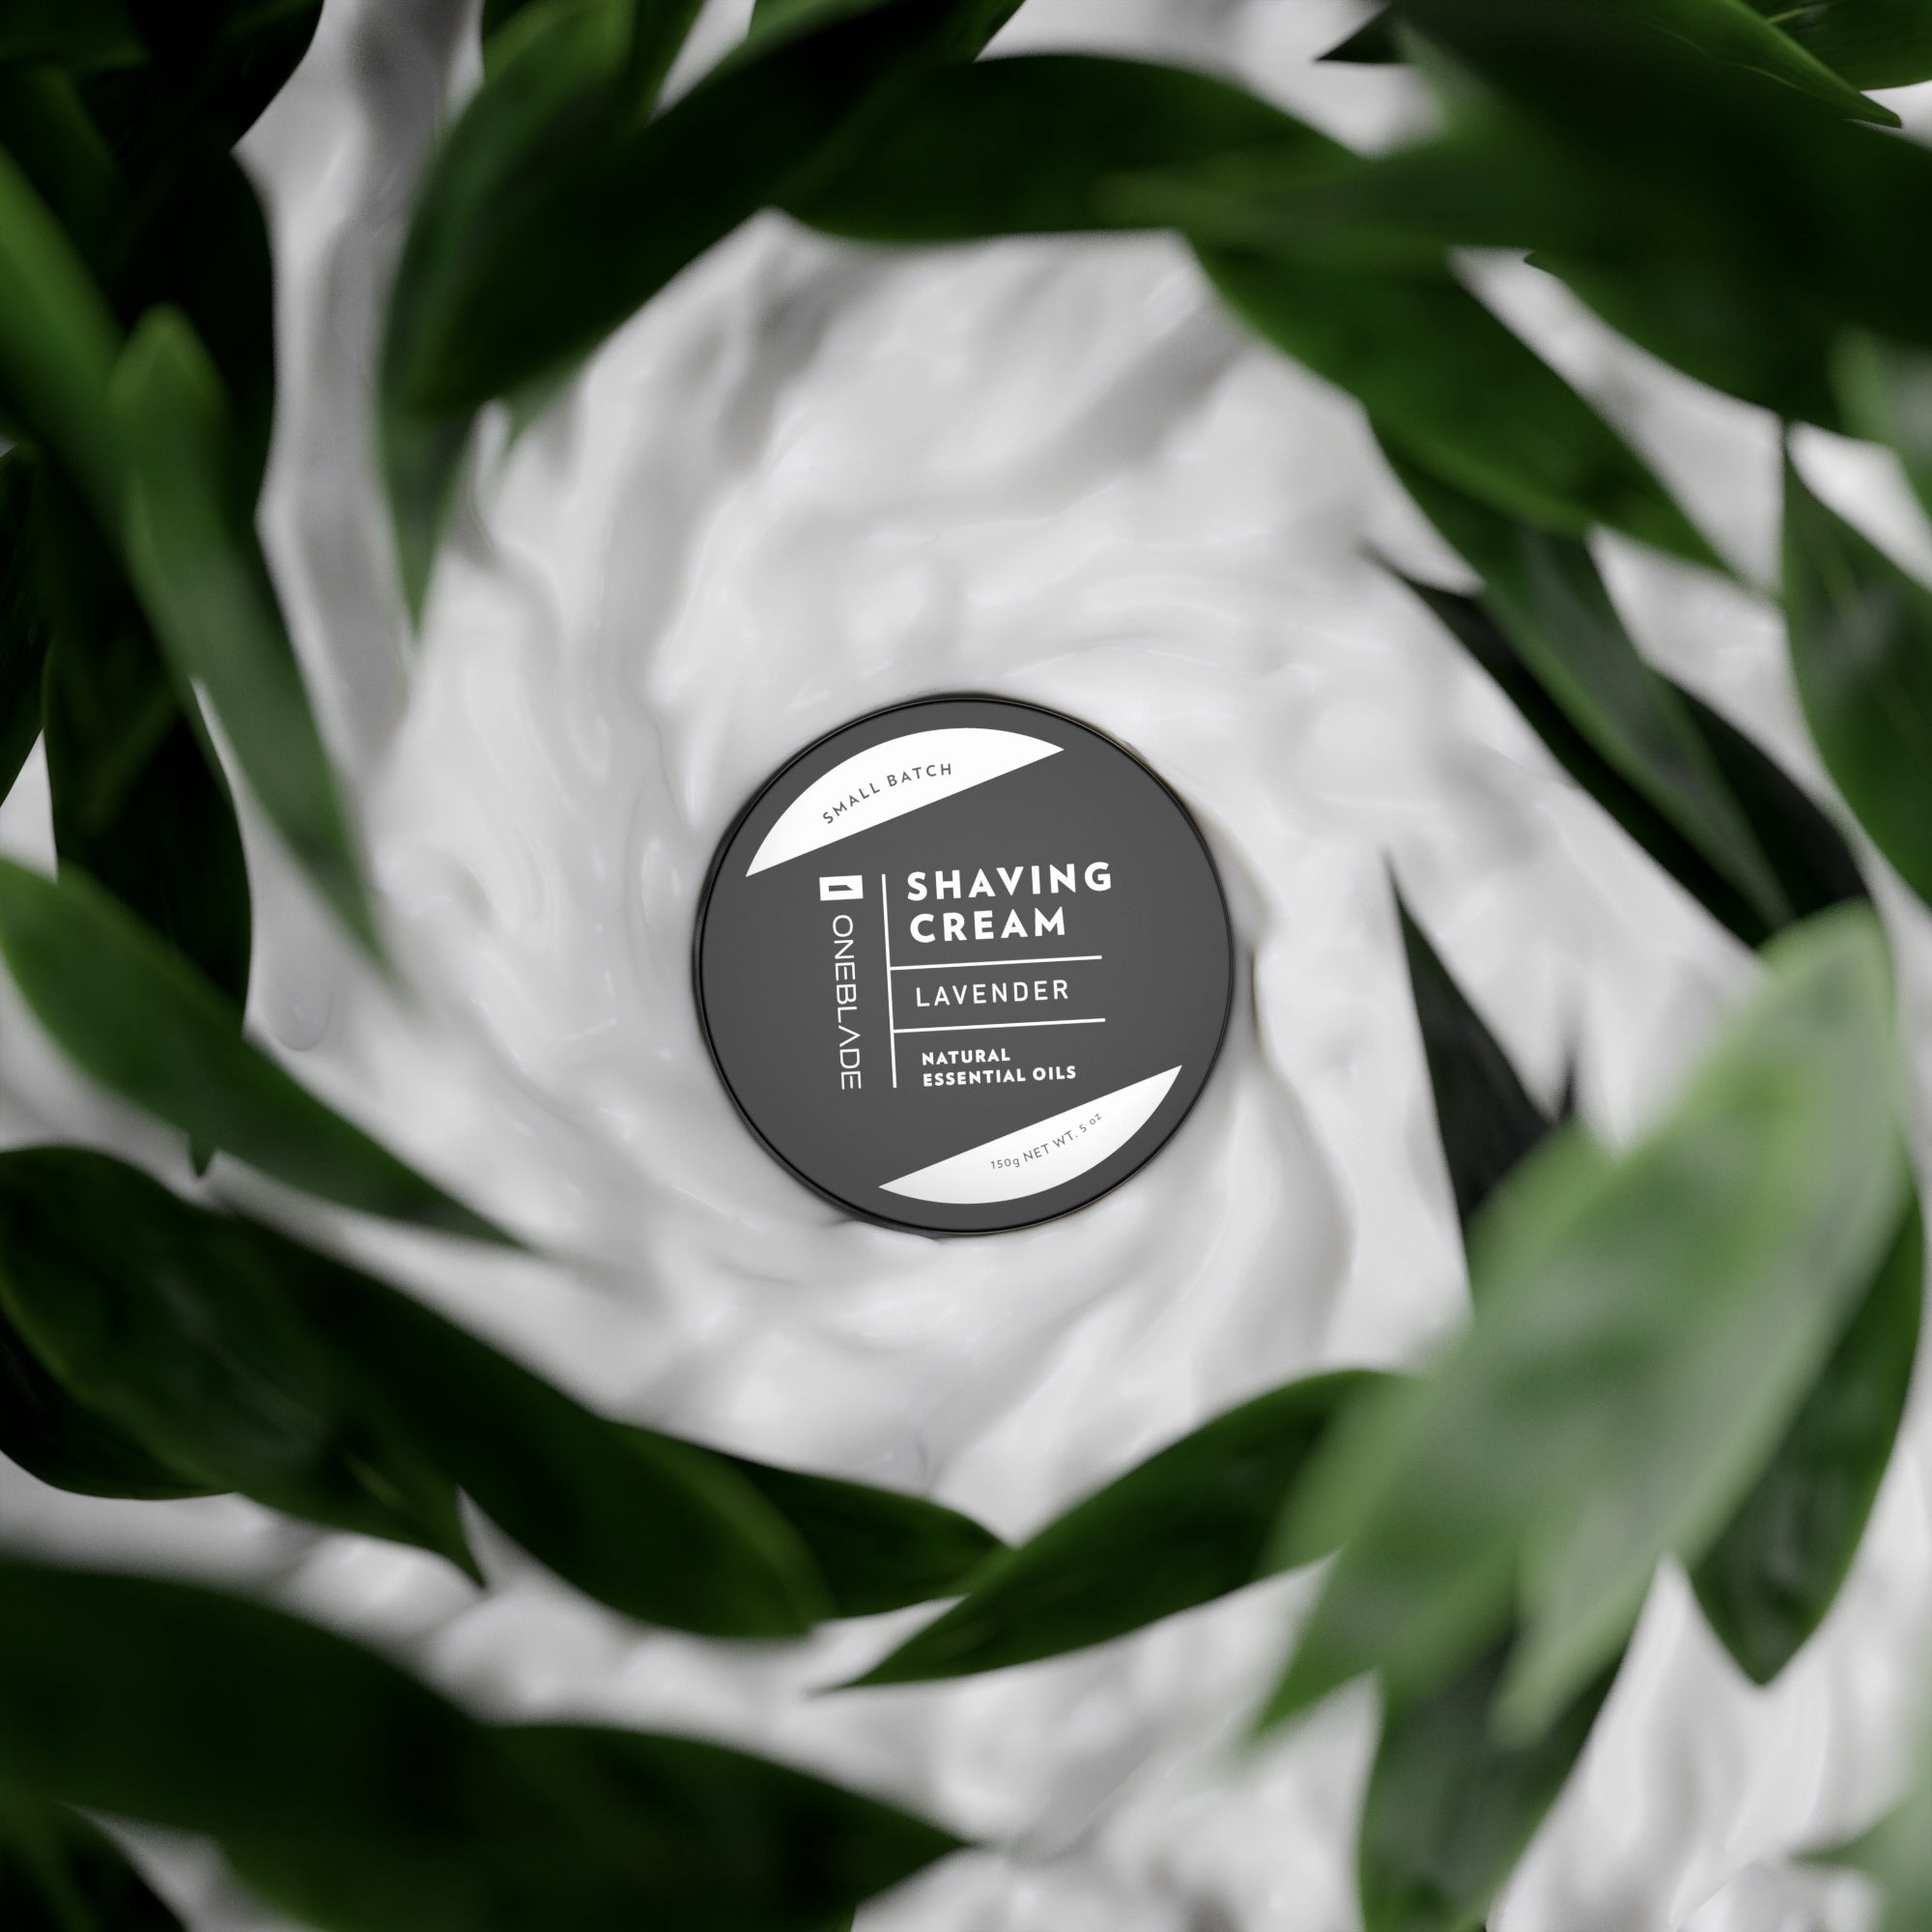
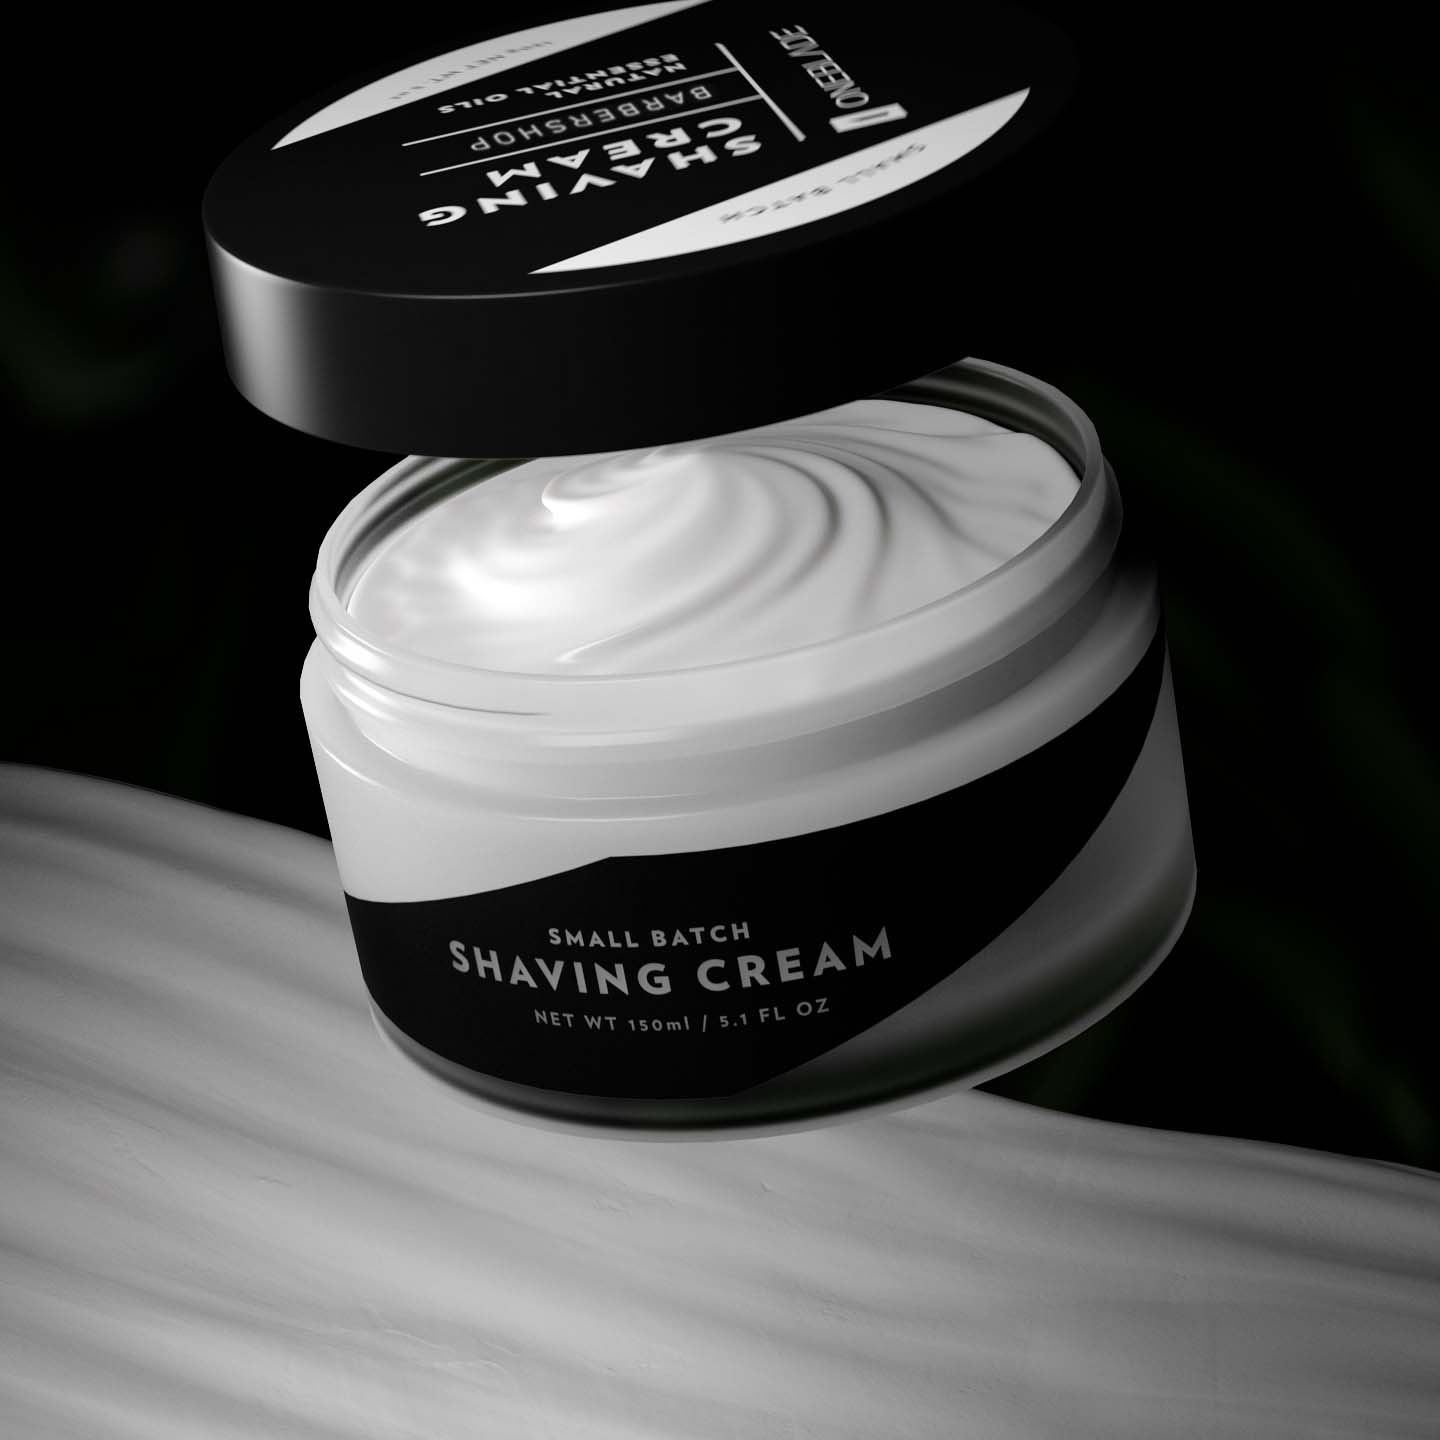
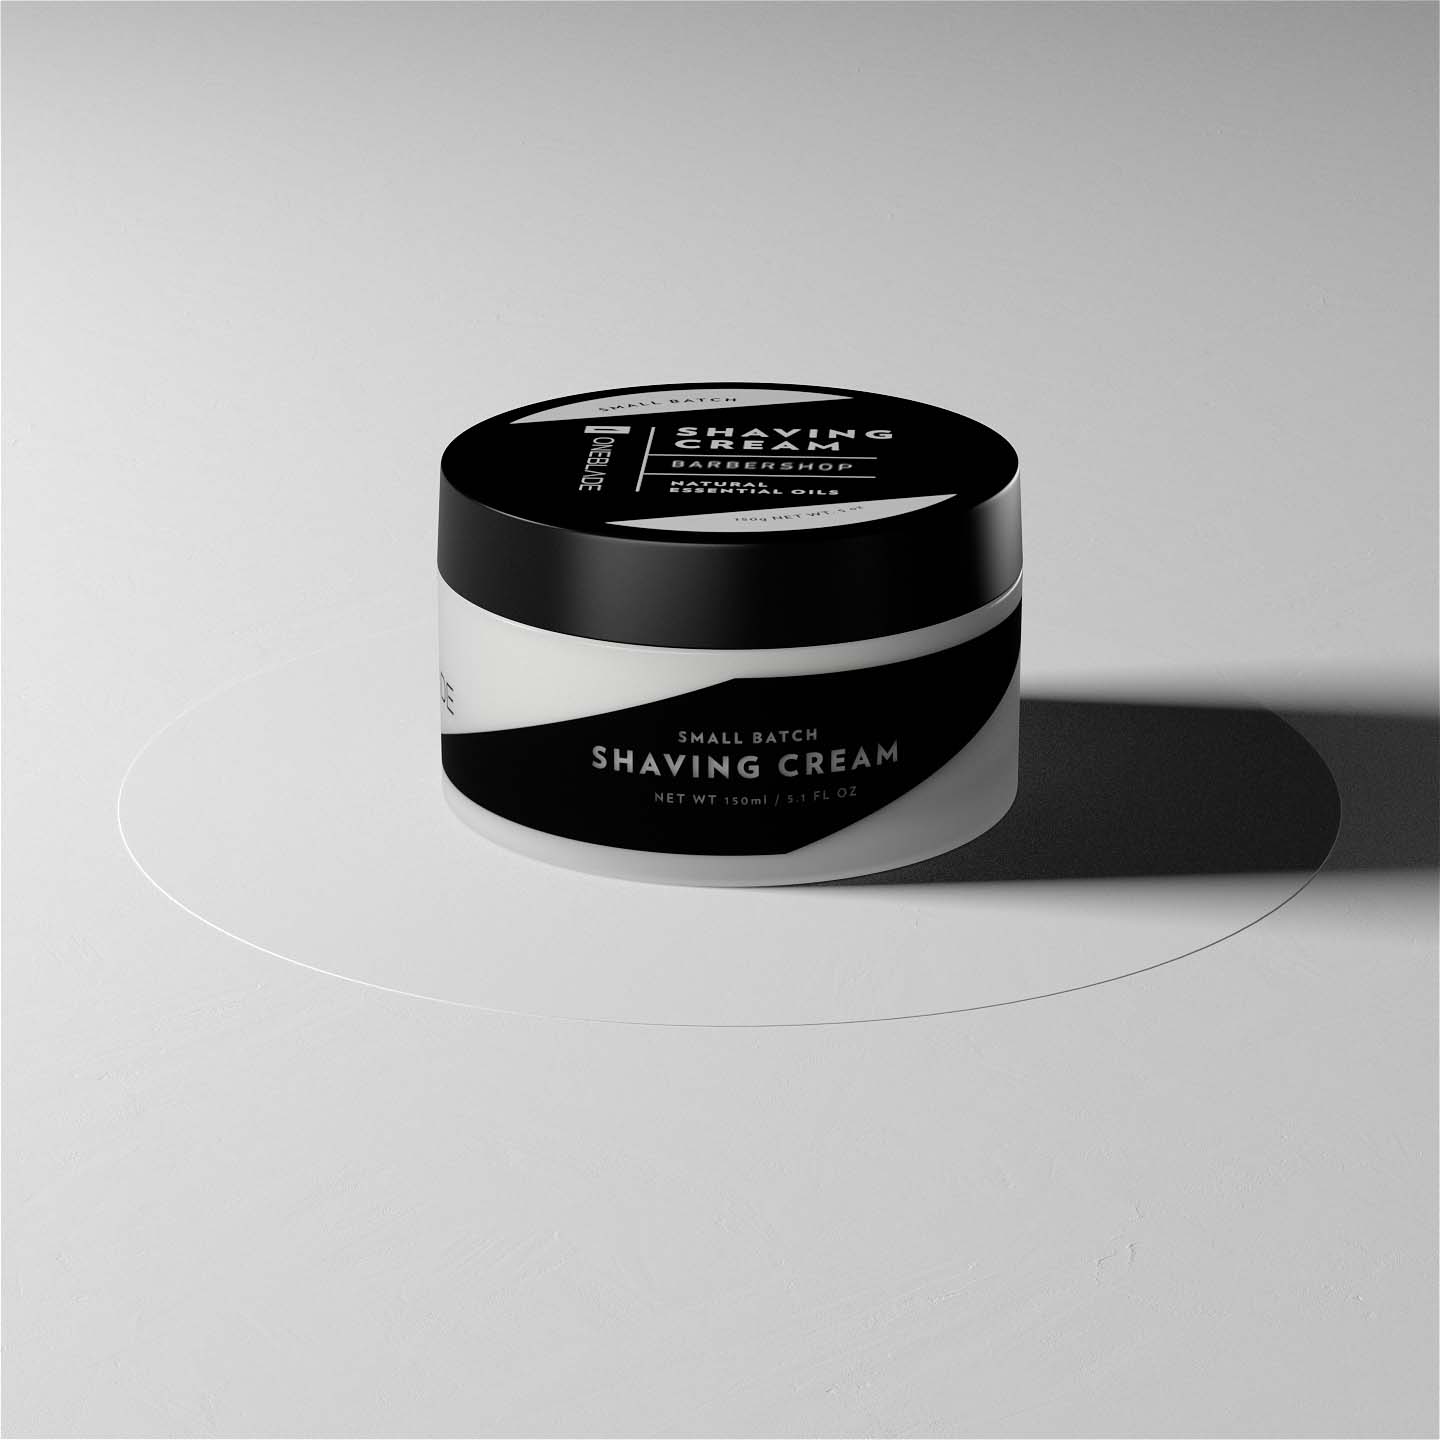
Shaving Cream
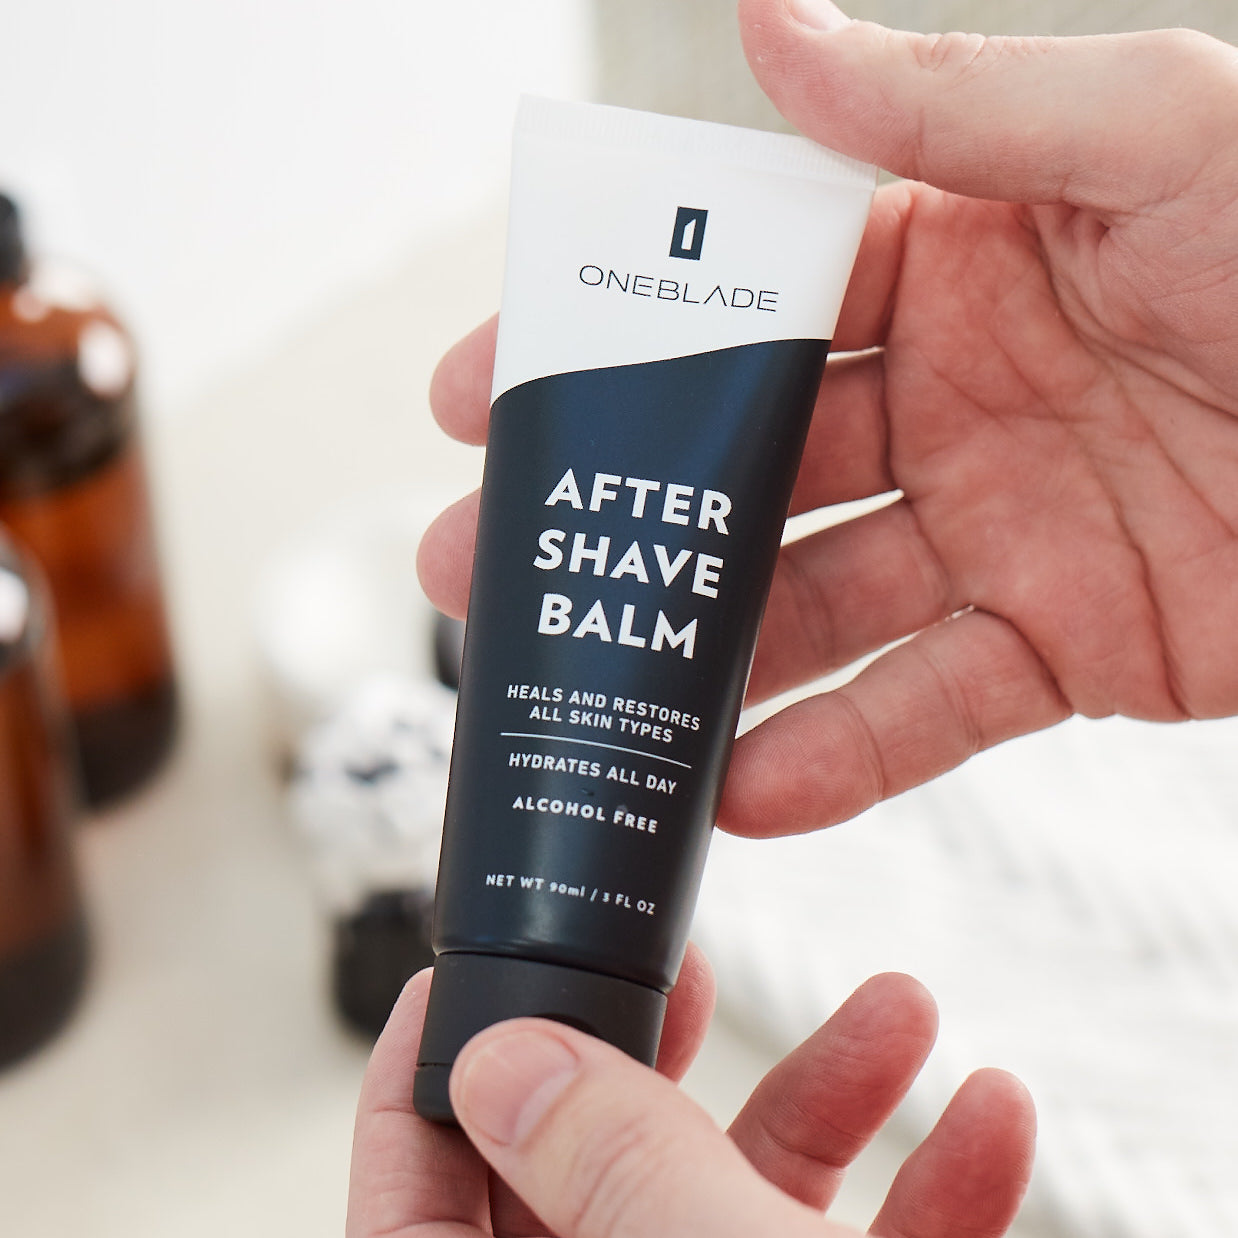
After Shave
Reader Questions - AMA (Ask Mark Anything) Round Two:
Ronny asks:
“For taking advantage of the Oneblade, I think its very beneficial to use a very slick soap/creme... Any thoughts or alternatives to preshave oil?”
Mark: I’m a little biased here--I have never been a fan of pre-shave oils. Too many people use them as a “crutch” for poor preparation and poor product use. I firmly believe that a reasonable pre-shave cleansing (with a cleanser specifically made for the face) and using good quality shave lather (nothing out of a pressurized can!) will provide superior results.
Jonathan asks:
“I’ve been traditional wet shaving now for almost 5 years. I use a combination of traditional DE razors, and more recently, the ONE Blade Genesis and Core. While I absolutely get better shaves that I ever had before, and even enjoy shaving now, I still find myself getting a few ingrown hairs, and mild irritation from time to time. I believe this is because I am not maintaining the proper blade angle at all times, and using too much pressure. Is there a technique(s) that you’ve found useful in helping maintain that perfect angle while not using too much pressure? I understand that everyone’s skin is a little bit different, but there has to be some tips and techniques that can be applied universally, and that work for experienced wet shavers (such as myself) and beginners alike.“
Mark: I can suggest several things here. To help avoid ingrown hairs, after shaving rinse the area thoroughly with warm water (don’t just splash a little cool water on your face then apply aftershave). Then soak a cotton round (not a cotton ball; cotton rounds are little pads you can find in the cosmetics isle) with witch hazel and wipe down the area. Then rinse with cool water and apply a lightweight aftershave.
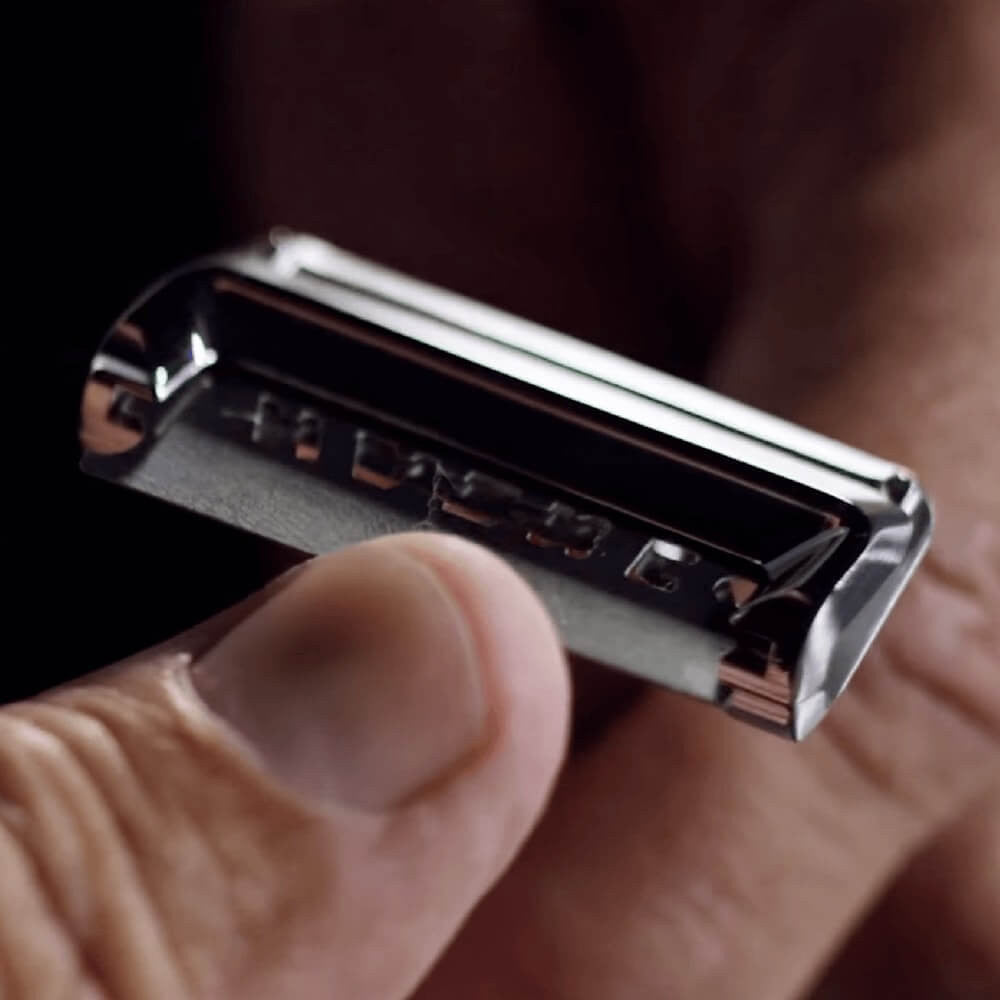
Regarding pressure on the razor, try holding the razor as far down on the handle as you’re comfortable with. That should force you to use less pressure on the razor’s head. OneBlade’s pivot may not engage as obviously as it otherwise might, but the pivot will still work “in the background” and you still get consistent shaves.
If you’re using a OneBlade and still getting irritation, it is more likely than not a result of over-shaving an area. We all do it, repeating strokes over the exact same place, again and again. Try to make a conscious effort to be “efficient” in your shaves and avoid shaving in exactly the same stroke over the same spot.
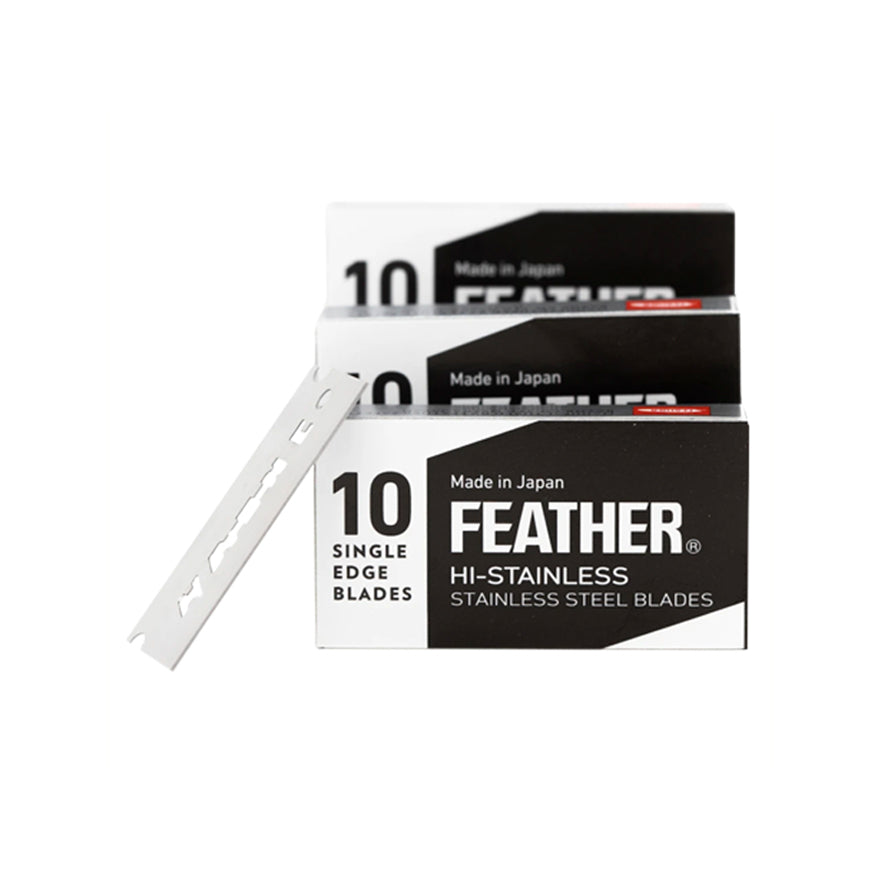
Another possibility is if you’re using the blade beyond its useful life. Try a new blade.
Saul asks:
“How do I ensure the edge of the mandíbula will not rough after shaving?”
Mark: The lower jaw (mandíbula) can be a tough spot to shave cleanly for some people. Luckily OneBlade can make this easier! But don’t over-rely on OneBlade’s pivot either. Shave with shorter strokes that follow the flattest parts of the jaw area: don’t shave with long strokes around the curved part of the jaw line. You also might experiment with a slightly higher angle of the razor’s blade against the skin. You may not get the full benefit of OneBlade’s pivot but it will still work.
For a touch-up pass along the jaw put some thicker-than-normal shave lather on the jaw and “buff” the area using very short, quick, light strokes. That should clean up any rough patches.